本文以最简单的 tcp 转发为例,展示 envoy 的静态配置格式。
以监听 tcp://127.0.0.1:7788,将 tcp 请求转发到 http://127.0.0.1:8899 的代理服务为例。
配置代理服务
代理服务使用 nodejs 的 whistle ,安装方式为 npm install -g whistle。 启动命令是 w2 start。成功启动后会看到 whistle 会默认监听本地的几个 IP。
[!] whistle@2.9.57 is running
[i] 1. use your device to visit the following URL list, gets the IP of the URL you can access:
       http://127.0.0.1:8899/
       http://10.x.x.56:8899/
       http://192.168.x.10:8899/
       Note: If all the above URLs are unable to access, check the firewall settings
             For help see https://github.com/avwo/whistle
[i] 2. set the HTTP proxy on your device with the above IP & PORT(8899)
[i] 3. use Chrome to visit http://local.whistlejs.com/ to get started
测试代理服务
可以使用 curl -x http://127.0.0.1:8899/ http://baidu.com -v 测试代理是否正常工作。
*   Trying 127.0.0.1:8899...
* Connected to 127.0.0.1 (127.0.0.1) port 8899
> GET http://baidu.com/ HTTP/1.1
> Host: baidu.com
> User-Agent: curl/8.6.0
> Accept: */*
> Proxy-Connection: Keep-Alive
>
< HTTP/1.1 200 OK
< Date: Fri, 12 Jul 2024 02:04:00 GMT
< Server: Apache
< Last-Modified: Tue, 12 Jan 2010 13:48:00 GMT
< ETag: "51-47cf7e6ee8400"
< Accept-Ranges: bytes
< Content-Length: 81
< Cache-Control: max-age=86400
< Expires: Sat, 13 Jul 2024 02:04:00 GMT
< Connection: Keep-Alive
< Content-Type: text/html
<
<html>
<meta http-equiv="refresh" content="0;url=http://www.baidu.com/">
</html>
* Connection #0 to host 127.0.0.1 left intact
使用 curl 命令的 -v 参数可以打印请求的详细信息。可以在第一行看到尝试连接 127.0.0.1:8899 ,第二行成功连接使用代理进行后续 http 请求。
配置 envoy 转发 tcp 请求到代理服务
接下来配置一个 yaml 格式的 envoy 静态配置。
static_resources:
  listeners:
    - name: listener_ingress # 定义一个监听器,描述数据从哪个 ip 端口进入到 envoy
      address: # 配置监听的端点配置,包括协议、ip 和端口
        socket_address:
          protocol: TCP
          address: 127.0.0.1
          port_value: 7788
      filter_chains: # 配置过滤器链
        - filters:
            - name: envoy.filters.network.tcp_proxy # 转发 tcp 到指定的 cluster
              typed_config:
                "@type": type.googleapis.com/envoy.extensions.filters.network.tcp_proxy.v3.TcpProxy
                stat_prefix: tcp_filter_chain
                cluster: whistle_proxy
  clusters: # 配置 cluster,描述数据从 envoy 发出的目的地址
    - connect_timeout: 1s
      load_assignment:
        cluster_name: whistle_proxy
        endpoints:
          - lb_endpoints:
              - endpoint:
                  address:
                    socket_address:
                      address: 127.0.0.1
                      port_value: 8899
      name: whistle_proxy
再次使用 curl 命令验证 tcp 端口转发功能是否正常,使用命令 curl -x 127.0.0.1:7788 http://baidu.com -v , 输出结果如下:
*   Trying 127.0.0.1:7788...
* Connected to 127.0.0.1 (127.0.0.1) port 7788
> GET http://baidu.com/ HTTP/1.1
> Host: baidu.com
> User-Agent: curl/8.6.0
> Accept: */*
> Proxy-Connection: Keep-Alive
>
< HTTP/1.1 200 OK
< Date: Fri, 12 Jul 2024 02:09:48 GMT
< Server: Apache
< Last-Modified: Tue, 12 Jan 2010 13:48:00 GMT
< ETag: "51-47cf7e6ee8400"
< Accept-Ranges: bytes
< Content-Length: 81
< Cache-Control: max-age=86400
< Expires: Sat, 13 Jul 2024 02:09:48 GMT
< Connection: Keep-Alive
< Content-Type: text/html
<
<html>
<meta http-equiv="refresh" content="0;url=http://www.baidu.com/">
</html>
* Connection #0 to host 127.0.0.1 left intact
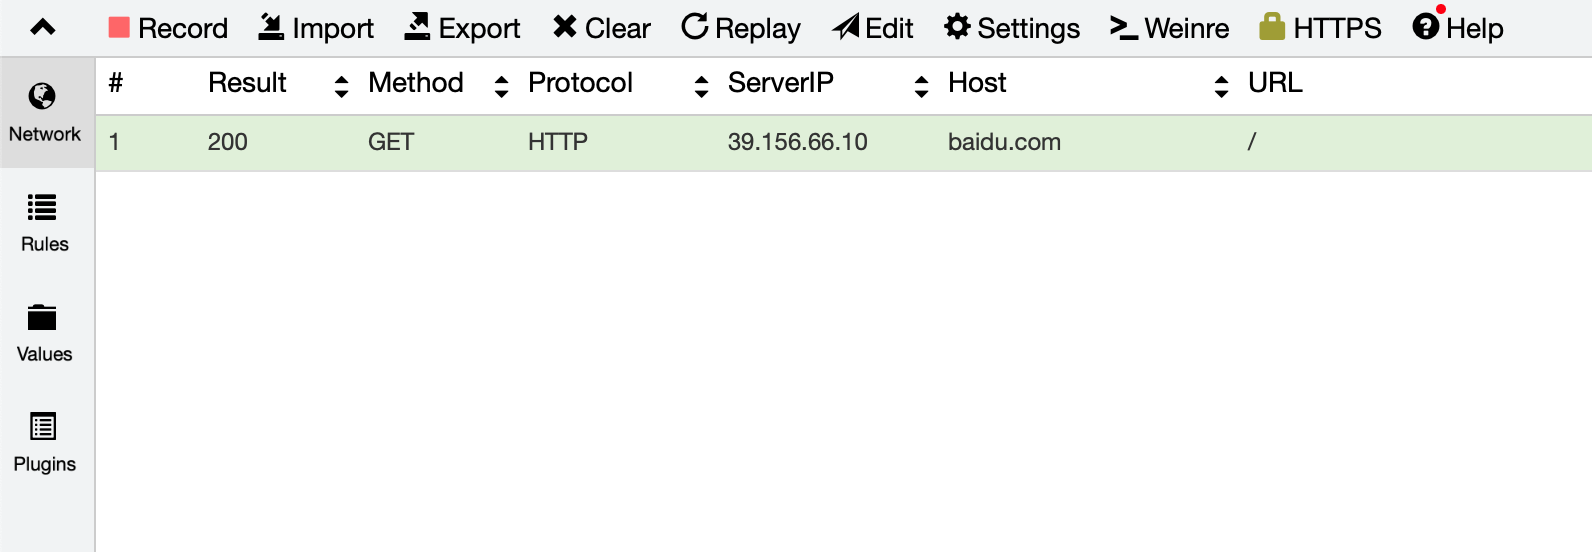
可以看到使用 7788 端口同样也可以进行 http 请求的转发,并且在 whistle 的请求列表中也可以看到刚刚这个请求。
小结
这个简单的示例并没有其他的功能,仅仅是类似 io.Copy 的这样的一个实现,将对应的 tcp 请求接受转发到其他端点。
从这个示例往扩展可以添加请求日志、针对多个服务端进行负载均衡以及通过 wasm 或 RBAC 等过滤器对访问请求五元组进行逻辑操作,比如只接受特定来源 ip 的请求。